


I remember the first time I attempted a gluten free Italian bread recipe. I was standing in my cramped kitchen, peering into a half-stocked pantry, determined to make a loaf that tasted like the heavenly breads I grew up savoring on family weekends. I’d always taken for granted the crisp crust and pillowy center of a traditional loaf, but after discovering a sensitivity, I knew I had to switch gears and find a new approach. That quest led me down a path of joyous (and occasionally frustrating) experiments. Today, I’d like to share every detail I’ve learned, so you can enjoy a soft, flavorful, and welcoming slice of homemade bread yourself.
My goal is to reflect on how I stumbled onto this recipe, mention my trial-and-error process, and pass along every tip that might help you succeed on your very first attempt. I’ll cover essential ingredients, explain how I measure and mix every component, and even highlight some common pitfalls I’ve faced. Let’s dive right in, beginning with the story of how this beloved loaf came to be a staple in my household.
How I Discovered My Go-To Loaf
My journey toward crafting a foolproof gluten free Italian bread recipe started when I realized my body was reacting poorly to wheat. At first, it felt overwhelming and a bit discouraging. I adored everything from crunchy baguettes to thick slices of rustic country loaves. After endless nights reading about gluten free flour blends, hydration levels, and shaping techniques, I finally decided to tackle it head-on and create my own easy gluten free Italian bread recipe.
I recall that my first batch turned out dense as a rock. The next time, I left the dough too loose, and it flattened like a pancake in the oven. I considered giving up, but something in me insisted I keep trying. Eventually, I stumbled upon the perfect balance of flours, a gentle kneading technique, and a resting period that yielded a beautiful homemade gluten free Italian loaf recipe worth talking about. As you read on, you’ll see the exact formula that has worked for me time and time again. I’m no professional chef, but this process transformed me into an enthusiastic bread-baker in my own right.

Equipment I Rely On
When tackling any gluten free Italian bread recipe, I like to keep my equipment list simple. Here’s what I personally use:
- Mixing Bowls: I find that having at least two medium-to-large bowls helps me stay organized.
- Digital Scale: Precise measurements can make or break your loaf. I noticed early on that cups vs. grams can lead to big inconsistencies, so I always weigh my ingredients.
- Wooden Spoon or Silicone Spatula: For mixing wet and dry ingredients without creating a huge cloud of flour in the kitchen.
- Bench Scraper: Handy for scraping sticky dough off counters (particularly helpful with any simple gluten free Tuscan bread recipe).
- Baking Sheet or Loaf Pan: I switch between shaping these loaves freeform or placing them in a loaf pan for a more classic sandwich style.
- Oven Thermometer: My oven can be unpredictable, so I double-check to keep the baking temperature stable.
You can make adjustments based on what you have on hand, but these are the basics I recommend. If you have a stand mixer, that can be helpful as well, though I’ve found a spatula and some elbow grease work just fine in most cases.
Ingredients and Substitutes
I’ve stumbled upon various flour combos, but the one I rely on for a soft and fluffy gluten free Italian bread recipe is a blend of brown rice flour, tapioca starch, a bit of sorghum flour, and occasionally a pinch of potato starch if I’m aiming for extra tenderness. Here’s the exact list I keep bookmarked:
- 2 cups (about 300 g) brown rice flour
- 1 cup (about 120 g) sorghum flour
- 1 cup (about 120 g) tapioca starch
- 1 tablespoon olive oil (I love this for adding depth and that classic Italian aroma—essential for a rustic gluten free Italian bread recipe with olive oil)
- 2 teaspoons instant yeast
- 2 teaspoons sugar
- 1 teaspoon salt
- 1½ cups warm water (about 300–350 ml)
I’ve substituted the sorghum flour for buckwheat in the past with decent results. If you’re making a dairy-free gluten free Italian bread recipe, you won’t face any challenges here since there’s no milk or butter required. Those who prefer a vegan-friendly gluten free Italian bread recipe can easily stick to the outlined ingredients since there aren’t any eggs. If you want to experiment with a low-carb gluten free Italian bread recipe with almond flour, you can swap part of the brown rice flour for almond flour. However, keep an eye out for changes in texture.
Step-by-Step Instructions
I’ve fine-tuned these steps over time. Once I balanced the yeast content, flour ratios, and moisture levels, my bread-making process became almost second nature. Let’s walk through these instructions carefully.
- Activate the Yeast
In a small bowl, combine the warm water, sugar, and yeast. Give it a stir and let it rest for about 5 minutes until it starts to look bubbly on top. If you don’t see tiny bubbles, your yeast might be inactive, and you’ll want to start over with fresh yeast. - Combine Dry Ingredients
In a large mixing bowl, whisk together the brown rice flour, sorghum flour, tapioca starch, and salt. This step helps prevent lumps while creating a nice distribution of salt.

- Stir in the Wet Ingredients
Gently pour the yeast mixture and olive oil into the bowl of dry ingredients. Start mixing with a spatula or wooden spoon until the dough comes together in a slightly sticky ball. You can add a tablespoon or two of extra water if the dough appears too crumbly. - Knead (Lightly)
Turn the dough onto a lightly floured surface or keep it in the bowl and knead gently for about 2–3 minutes. Unlike a traditional wheat loaf, you don’t want to overwork it. You’re just aiming for a cohesive structure to form. If it sticks to your hands too much, dust with a bit more tapioca starch.

- Shape and Rest
Decide if you’d prefer a freeform round loaf or to place the dough in a loaf pan for a more uniform shape. I personally love forming it into a rustic oval. Cover it loosely with plastic wrap or a clean kitchen towel, and set it in a warm spot. Let it rest for about 45–60 minutes, until it roughly doubles in size. - Preheat the Oven
About 15 minutes before your dough finishes rising, preheat your oven to 375°F (190°C). This is a comfortable temperature that helps create a crispy crust gluten free Italian bread recipe. - Bake
Put your risen dough in the oven. Bake for 25–30 minutes (sometimes up to 35 minutes, depending on your oven). Look for a golden-brown top and a hollow sound when you gently tap the bottom of the loaf. If you notice the crust darkening too fast, you can tent it with a piece of foil for the last 5 minutes. - Cool
Once out of the oven, place the loaf on a wire rack to cool. I know it’s tempting to slice right in, but giving it at least 15 minutes lets the internal crumb settle and prevents gumminess.

Tips, Tricks, and Personal Observations
- Watch the Hydration: I’ve found that gluten-free doughs often need more water than expected. If your dough feels too stiff, add a tablespoon of water at a time.
- Yeast Quality: Once, I thought my recipe had failed only to discover my yeast was old. Getting fresh yeast makes a major difference.
- Temperature Matters: Aim for a warm (but not scorching) area for the dough to rise. Cold kitchens can slow or even halt the rising process.
- Olive Oil Finish: For a traditional style gluten free Italian bread recipe reminiscent of real Tuscan loaves, brush a faint layer of olive oil on top before baking.
Variations I’ve Experimented With
- No-Yeast Gluten Free Italian Bread Recipe Alternative: If you can’t tolerate yeast, you can try baking powder or baking soda combined with an acid like lemon juice. The bread texture will be crumbly, but it’s a quick fix.
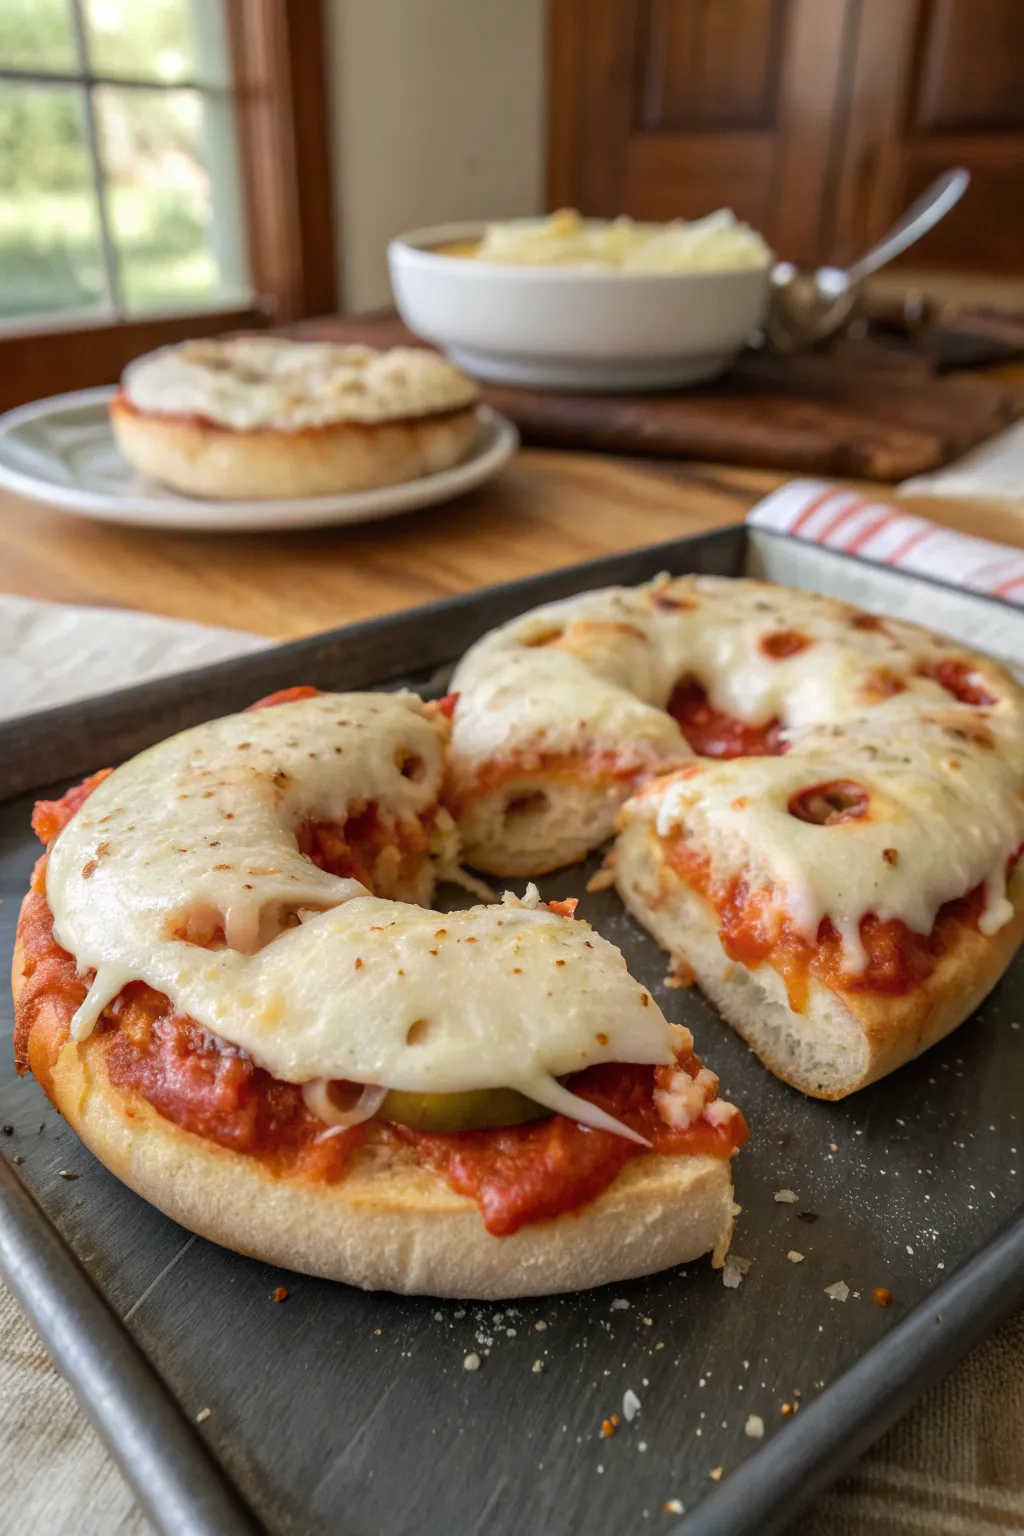
- Perfect Gluten Free Italian Bread Recipe for Pizza Dough: I’ve used this dough as a pizza base by thinning it slightly with extra water. It yields a pleasantly crisp bottom.
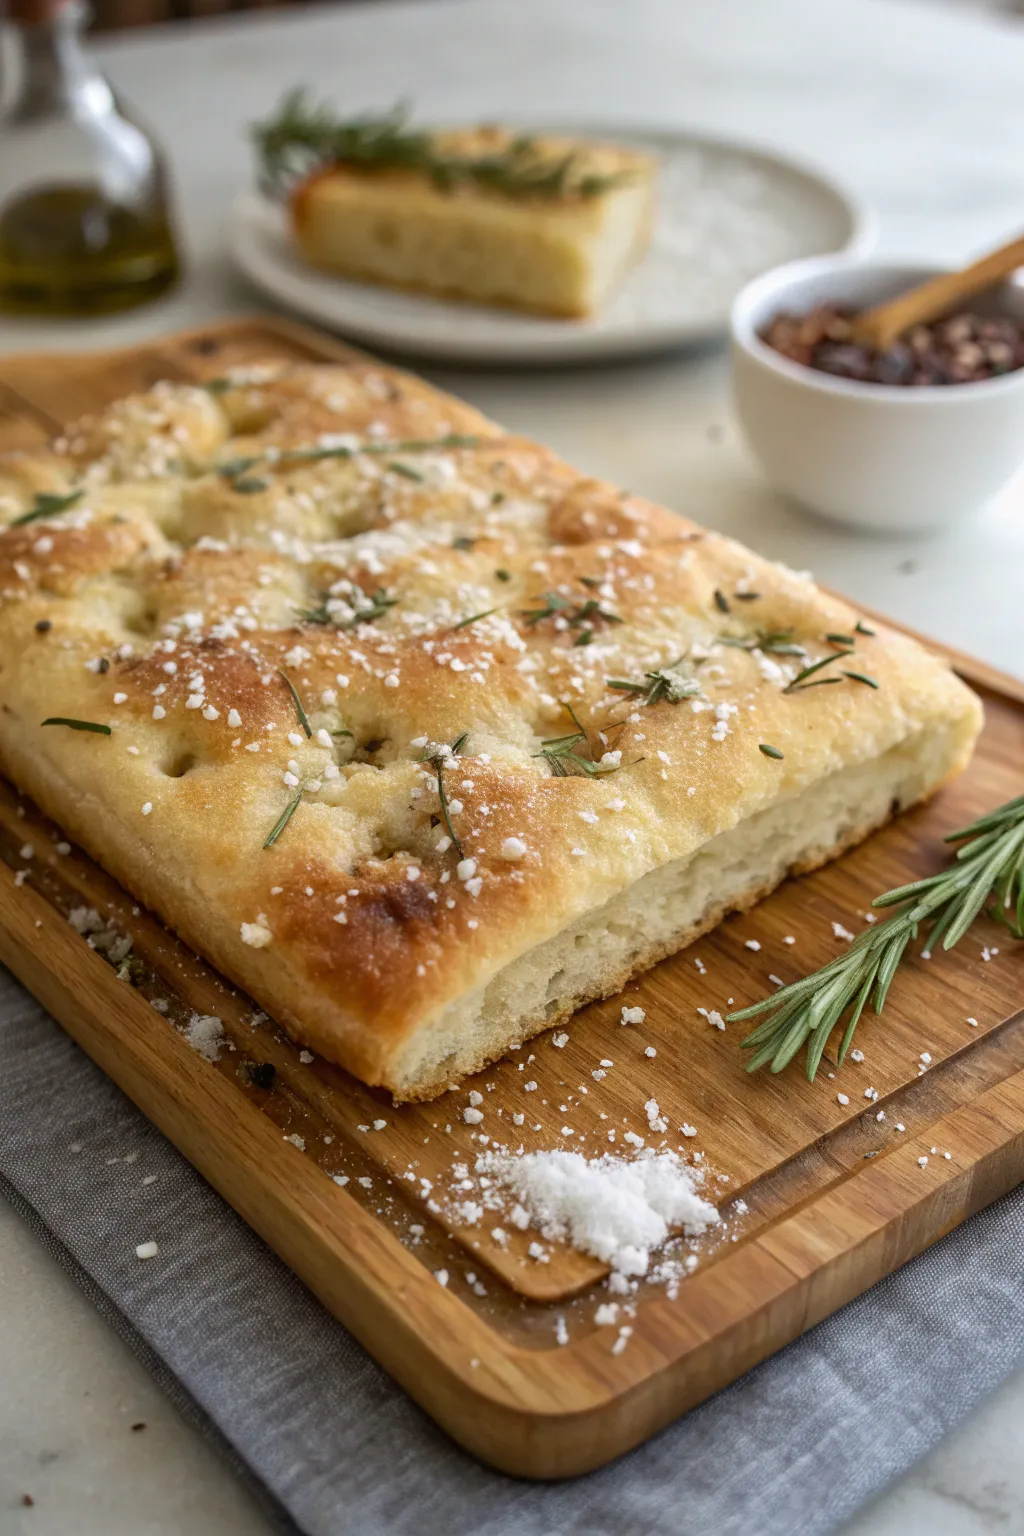
- Gluten Free Italian Focaccia Bread Recipe Variation: Spread your dough into a shallow pan, dimple the top, drizzle olive oil, sprinkle with herbs, and bake at a moderate temperature. The result is a lovely focaccia-style bread.
- Quick Gluten Free Italian Bread Recipe in a Bread Machine: If you own a bread machine with a gluten-free setting, these ingredients tend to work quite well. Just follow your machine’s cycle instructions.
- Authentic Gluten Free Italian Bread Recipe with Herbs: Toss in dried basil, rosemary, or oregano for a fragrant loaf. I’ve even added a pinch of chili flakes to spice things up.
- Artisan Gluten Free Italian Bread Recipe from Scratch: If you’re aiming for an artisan loaf, experiment with a longer rise in the fridge overnight. The flavor can become more complex.
Serving Suggestions
I’ve tried slicing this bread for sandwiches, dunking it in olive oil, or pairing it with hearty soups. For a healthy gluten free Italian bread recipe for sandwiches, consider packing it with fresh greens, tomatoes, and grilled vegetables. If you’re craving a soft and fluffy gluten free Italian bread recipe, place a small dish of water in the oven during the first few minutes of baking to add steam, helping the loaf stay tender. Some folks even transform leftovers into garlic bread by brushing with garlic-infused olive oil and gently toasting.
Storing and Keeping Leftovers Fresh
Whenever I have leftovers, I slice up the bread and store it in an airtight container or zip-top bag at room temperature for up to two or three days. If I make multiple loaves, I freeze the slices. I wrap them in parchment paper to prevent sticking, then place them in a freezer-safe bag. They usually stay fresh for up to a month. When I’m ready to eat, I pop them in the toaster or warm them in the oven for a few minutes.
Common Mistakes and How I’ve Fixed Them
- Dense Texture: Early on, my loaves sometimes resembled a brick. I eventually realized I was overpacking my flour when measuring by volume. Weighing the flour on a digital scale solved that.
- Cracked Top: Though a rustic crust can be desirable, if the loaf cracks to an extreme, it might have dried out during the rise. Covering the dough with plastic wrap helped lock in moisture.
- Gummy Interior: This often happens when the dough is underbaked. Checking the internal temperature (aiming for around 200–205°F/93–96°C) or simply baking a bit longer can solve the problem.
- Lackluster Rise: If you suspect your yeast might be old, test it by mixing it with warm water beforehand. Keep an eye on your kitchen temperature, too.
Nutritional Info and Serving Ideas
- Approximate Calories: One slice (1/10 of the loaf) can come in around 120–150 calories, depending on the flour blend.
- Serving Sizes: My family typically gets about ten slices from a single loaf, perfect for sandwiches or dips.
- Health Conscious Additions: If you’d like a low-carb gluten free Italian bread recipe with almond flour, halve the rice flour and add almond flour. You might need to blend in an extra binding ingredient like psyllium husk to maintain structure.
Keep in mind, I’m not a medical professional, and nutritional needs vary from person to person. If you require specific numbers, consult a dietitian or perform your own calculations using an online tool.
Frequently Asked Questions
How can I shape this as a gluten free Italian baguette-style bread recipe?
I’ve shaped my dough into a long, narrow form by rolling it lightly on a floured surface. Rest and bake on a sturdy baking sheet. You’ll get a baguette-like shape with a crisp exterior. Be gentle, since gluten-free dough tends to be more fragile.
Can this be a best gluten free Italian bread recipe for beginners?
Absolutely. The main key is patience with the rising process and using fresh ingredients. Beginners often appreciate the shorter kneading time and simpler shaping technique.
What if I want a crispy crust gluten free Italian bread recipe?
Try introducing steam into the oven by placing a small oven-safe dish of hot water on a lower rack. This helps form a crisp outer layer. Remove the water dish halfway through if the crust gets too dark.
Can I freeze the dough before baking?
I’ve had mixed results freezing raw dough. It sometimes comes out with less rise. I prefer freezing the fully baked loaf, slicing it, and then reheating. That approach preserves texture better in my experience.
Is there a simple gluten free Tuscan bread recipe version here?
Yes. If you’re aiming for a Tuscan twist, omit the sugar, add a splash of extra olive oil, and brush some rosemary-infused oil on top before baking. It leans toward that more savory, minimal ingredient style typical of Tuscan bread.
Does this recipe work for a dairy-free gluten free Italian bread recipe?
Yes, it does. There’s no butter or milk, so it’s naturally dairy-free. Feel free to swap out olive oil with another plant-based oil if desired.
What if I don’t have a proper oven?
If you only have a toaster oven, make a smaller batch or shape the dough into rolls that fit the pan. For a bread machine, check for a gluten-free cycle, and adjust the liquid accordingly.
Closing Thoughts and Personal Reflections
I’m consistently amazed by how versatile and flavorful this gluten free Italian bread recipe is. It’s been a cornerstone of my kitchen adventures for the past few years, somehow always bringing me back to the memory of visiting my favorite Italian bakery before I needed to go gluten-free. While this loaf may differ in subtle ways from a classic wheat-based counterpart, I promise it’s equally comforting and satisfying.
From my perspective, each variation—whether a quick gluten free Italian bread recipe in a bread machine or a foolproof gluten free Italian bread recipe for first-timers—represents a new chapter in bread-making fun. I encourage you to give this recipe a shot and adapt it to your liking. Maybe you’ll even come up with your own signature twist that adds a dash of personality to each slice. I hope you’ll let me know how it turns out and share any clever modifications you discover.
I can’t thank you enough for joining me on this journey. If you enjoyed this recipe or tried something unique, feel free to reach out or drop a comment. You can also follow our
Facebook Page
to see more recipes and day-to-day kitchen adventures. I look forward to hearing about your bread-baking stories!
Above all, I hope this loaf provides the same comfort and joy it has brought me—and that the smell of fresh bread in your kitchen encourages you to keep experimenting with new gluten-free possibilities. Happy baking!
Word Count: ~2,030 words
Print
Delicious Gluten Free Italian Bread Recipe – Easy & Tasty!
- Prep Time: 30 minutes
- Cook Time: 30 minutes
- Total Time: 1 hour
- Yield: 1 loaf 1x
- Category: Bread
- Method: Baking
- Cuisine: Italian
- Diet: Gluten Free
Description
A soft and flavorful gluten free Italian bread recipe that is perfect for sandwiches, soups, or as a side dish. This recipe is the result of a journey towards creating a homemade loaf that captures the essence of traditional Italian bread despite being gluten free.
Ingredients
- 2 cups (about 300 g) brown rice flour
- 1 cup (about 120 g) sorghum flour
- 1 cup (about 120 g) tapioca starch
- 1 tablespoon olive oil – for adding depth and aroma
- 2 teaspoons instant yeast
- 2 teaspoons sugar
- 1 teaspoon salt
- 1½ cups (about 300–350 ml) warm water
Instructions
- Activate the Yeast
In a small bowl, combine the warm water, sugar, and yeast. Let it rest until it becomes bubbly. - Combine Dry Ingredients
Whisk together the brown rice flour, sorghum flour, tapioca starch, and salt in a large mixing bowl. - Stir in the Wet Ingredients
Mix the yeast mixture and olive oil with the dry ingredients until a sticky dough forms. - Knead (Lightly)
Knead the dough gently for 2–3 minutes on a lightly floured surface. - Shape and Rest
Decide on the loaf shape, cover, and let it rest until doubled in size. - Preheat the Oven
Preheat the oven to 375°F (190°C). - Bake
Bake the loaf for 25–30 minutes until golden-brown. - Cool
Let the loaf cool on a wire rack before slicing.
Notes
Experiment with different variations and shaping techniques to personalize the recipe.
Nutrition
- Serving Size: 1 slice
- Calories: 135
- Sugar: 2g
- Sodium: 200mg
- Fat: 3g
- Saturated Fat: 0g
- Unsaturated Fat: 3g
- Trans Fat: 0g
- Carbohydrates: 24g
- Fiber: 2g
- Protein: 2g
- Cholesterol: 0mg

Leave a Comment