


Introduction
I first stumbled upon a recipe for Olive Garden tiramisu dessert during a treasure hunt for sweet treats. Years ago, I was watching a cooking show when the host casually mentioned an “authentic Italian tiramisu dessert recipe” that tasted like it came straight out of a famous restaurant. The description instantly drew me in. I remember scribbling down some notes on a napkin, hoping I could bring that classic tiramisu dessert with espresso flavor into my own kitchen. Little did I know then that this little napkin would be the start of a journey filled with countless test batches, mini triumphs, and near catastrophes. Tiramisu quickly became one of those desserts that I simply had to master at home.
I can still picture my earliest attempts. The first time I tried making it, I was overly ambitious with the coffee soaking. My ladyfingers turned into a soggy mess, resulting in puddles of coffee at the bottom of the dish. I nearly gave up, but something about the velvety mascarpone, the gentle sweetness, and the balanced coffee aroma kept me going. I wanted that bakery-style tiramisu dessert at home and decided I had to keep trying until I perfected it. Soon enough, after many tweaks, I discovered a method that captured both the light and fluffy coffee-soaked tiramisu layers and the creamy mascarpone tiramisu filling secrets.
Over time, friends began calling it my copycat Olive Garden tiramisu instructions. I got to the point where people were asking me how to make restaurant-style tiramisu at home whenever I served it at a dinner party. That was when I knew I’d landed on something special—a quick tiramisu recipe for a dinner party that’s reminiscent of the version we all love from that famous Italian-American chain. In this article, I’ll share my best homemade tiramisu with mascarpone, including step-by-step tiramisu recipe for beginners, so you can enjoy this delicious no-bake tiramisu with coffee liqueur (optional) in your own home.
But let’s start with the basics. Sometimes it’s easy to assume you need fancy kitchen gadgets, or that you need to be a professional chef with decades of experience. Not so. If you’re ready for a simple tiramisu dessert with whipped cream topping—minus any complicated steps—then this easy Olive Garden tiramisu copycat guide will be a perfect fit. I’ll walk you through every detail, from raw ingredients to final layering. By the end, you’ll have a rich and velvety tiramisu without alcohol (unless you decide to add a splash of coffee-flavored syrup) that’s perfect for special occasions and everyday indulgence alike.
Before I share my own step-by-step instructions, let’s gather everything we need. That’s where the fun truly begins.

Ingredients and Equipment
When I first started experimenting with this recipe for Olive Garden tiramisu dessert, I focused on keeping all the ingredients fresh and carefully measured. Having the right ingredients really makes a difference in flavor and texture. Over time, I also learned the importance of reliable equipment.
Ingredients (Serves approximately 8–10):
– 24–30 ladyfingers (sometimes labeled as savoiardi)
– 1¼ cups brewed espresso or strong coffee (cooled)
– 4 large eggs, separated (use fresh, high-quality eggs for safety)
– ½ cup + 2 tablespoons granulated sugar (divided)
– 1 tablespoon coffee liqueur (optional) or coffee syrup
– 16 ounces mascarpone cheese (softened)
– 1 cup heavy cream
– 2 tablespoons unsweetened cocoa powder (plus extra for dusting)
Optional Substitutes and Notes:
– If you prefer no coffee flavor whatsoever, you can dip the ladyfingers in a mixture of hot cocoa or decaf coffee.
– For a lighter twist, use a mix of whipped cream and Greek yogurt in place of some mascarpone. (I did this once when I ran out of mascarpone and discovered I actually liked the tanginess.)
– You can skip the coffee liqueur if you want a 100% family-friendly treat. I only add a small spoonful on special occasions.
Equipment:
– Mixing bowls (try to keep at least one metal or glass bowl on hand)
– Electric hand mixer or stand mixer with whisk attachment
– Wide, shallow dish for soaking ladyfingers
– 8×8 or 9×9-inch baking dish (glass or ceramic recommended)
– Spatulas and a fine-mesh sieve or sifter for cocoa powder dusting
– Plastic wrap for refrigeration
When I’m making my best homemade tiramisu with mascarpone, I like to start off by arranging my station. I get everything in place, from the whipped cream and sugar to the small dish of cocoa. That way, I won’t scramble around the kitchen once I’m halfway into the process.

Step-by-Step Preparation (Part 1)
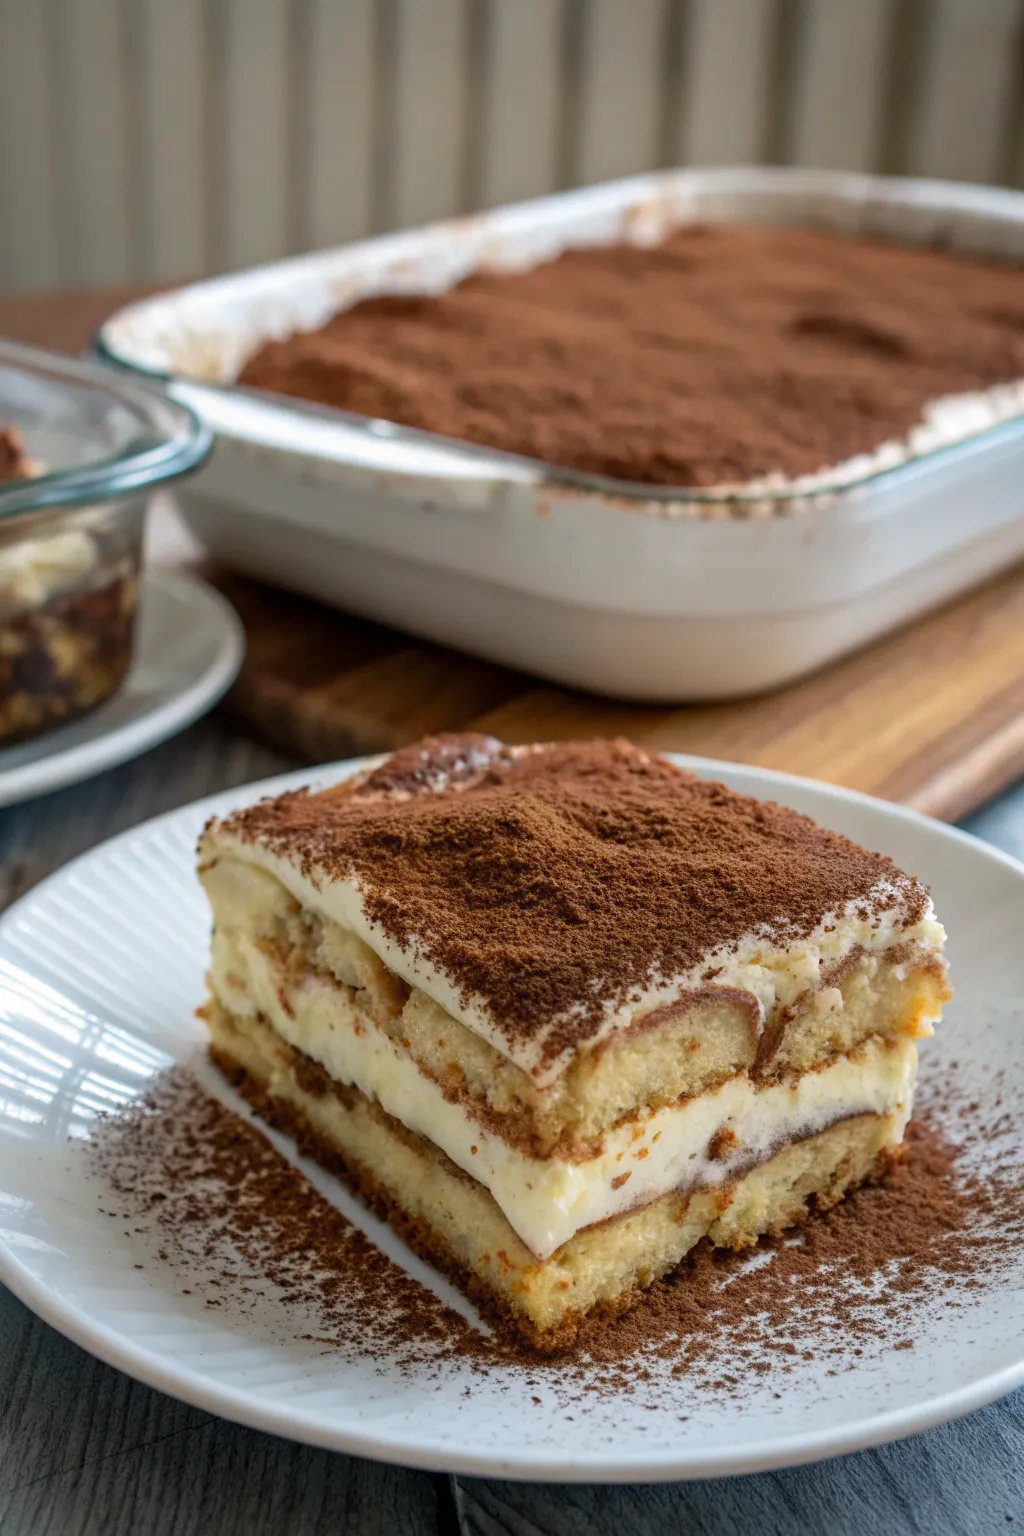
Whether you call this an authentic Italian tiramisu dessert recipe or a copycat Olive Garden tiramisu instructions, the technique remains largely the same: You prepare a rich, sweet mascarpone cream, layer it with coffee-soaked ladyfingers, and finish with a generous dusting of cocoa powder. Let’s walk through the first part of the journey:
- Separate the Eggs: Carefully separate the egg yolks from the whites. I usually do this over a small bowl to catch any shells. Place yolks in one bowl and whites in another.
- Whip the Yolks with Sugar: Combine the yolks with ½ cup of granulated sugar. Use an electric mixer on medium speed until the mix becomes pale and thick. This can take about 3 to 5 minutes. This step helps form the sweet base for our mascarpone mixture.
- Add the Mascarpone: Once the yolk-sugar mixture is thick, gently fold in the softened mascarpone cheese. I typically do this in two or three additions to keep the mixture light. Switch to low speed on your mixer or a spatula to avoid overmixing.
- Add a Splash of Flavor (Optional): At this stage, feel free to blend in the coffee liqueur if you’d like. If you prefer a rich and velvety tiramisu without alcohol, simply skip this step or swap the liqueur for a teaspoon of vanilla extract.
I remember the first time I made this filling, I rushed and added all the mascarpone at once and ended up with lumps. So, take it slow. Fold gently until everything is smooth. For me, this is the point in the process where I start tasting (maybe a little too frequently) because the mascarpone cream is so indulgent.

Step-by-Step Preparation (Part 2)
Now let’s carry on to the next steps, where I transform fluffy egg whites and combine them with that sweet mascarpone mixture.
- Beat the Egg Whites: Grab your other bowl with egg whites. Add 2 tablespoons of sugar. Use an electric mixer (clean the beaters first if you used them for the yolks) and whisk the whites on high speed until you get stiff peaks. This can take around 3 to 4 minutes.
- Fold Whites into Mascarpone Mixture: Take about a third of the whipped egg whites and fold it gently into the mascarpone base to lighten it. Then add the remaining whites. Try not to knock out the air. This is where I had a big learning curve. Over-folding can deflate your mixture and you’ll lose that light and fluffy coffee-soaked tiramisu layers everyone craves.
- Whip the Cream (Optional Step): For an extra cloud-like texture, you can whip the heavy cream in a separate bowl and then fold that in too. I do this sometimes when I want a simple tiramisu dessert with whipped cream topping. It adds another level of softness that, in my opinion, makes the dessert closer to the restaurant-style tiramisu at home.
Once all is combined, you’ll have a bowl of glossy, airy goodness. It’s one of the reasons I keep coming back to this dessert: the filling alone is satisfying enough to spoon straight from the bowl.

Leave a Comment